ChatME is the simplest way to build an AI chatbot trained on your own business information. In under 10 minutes you can have an assistant answering your visitors 24/7. This guide walks you through the five steps, in order.
What's included in your account
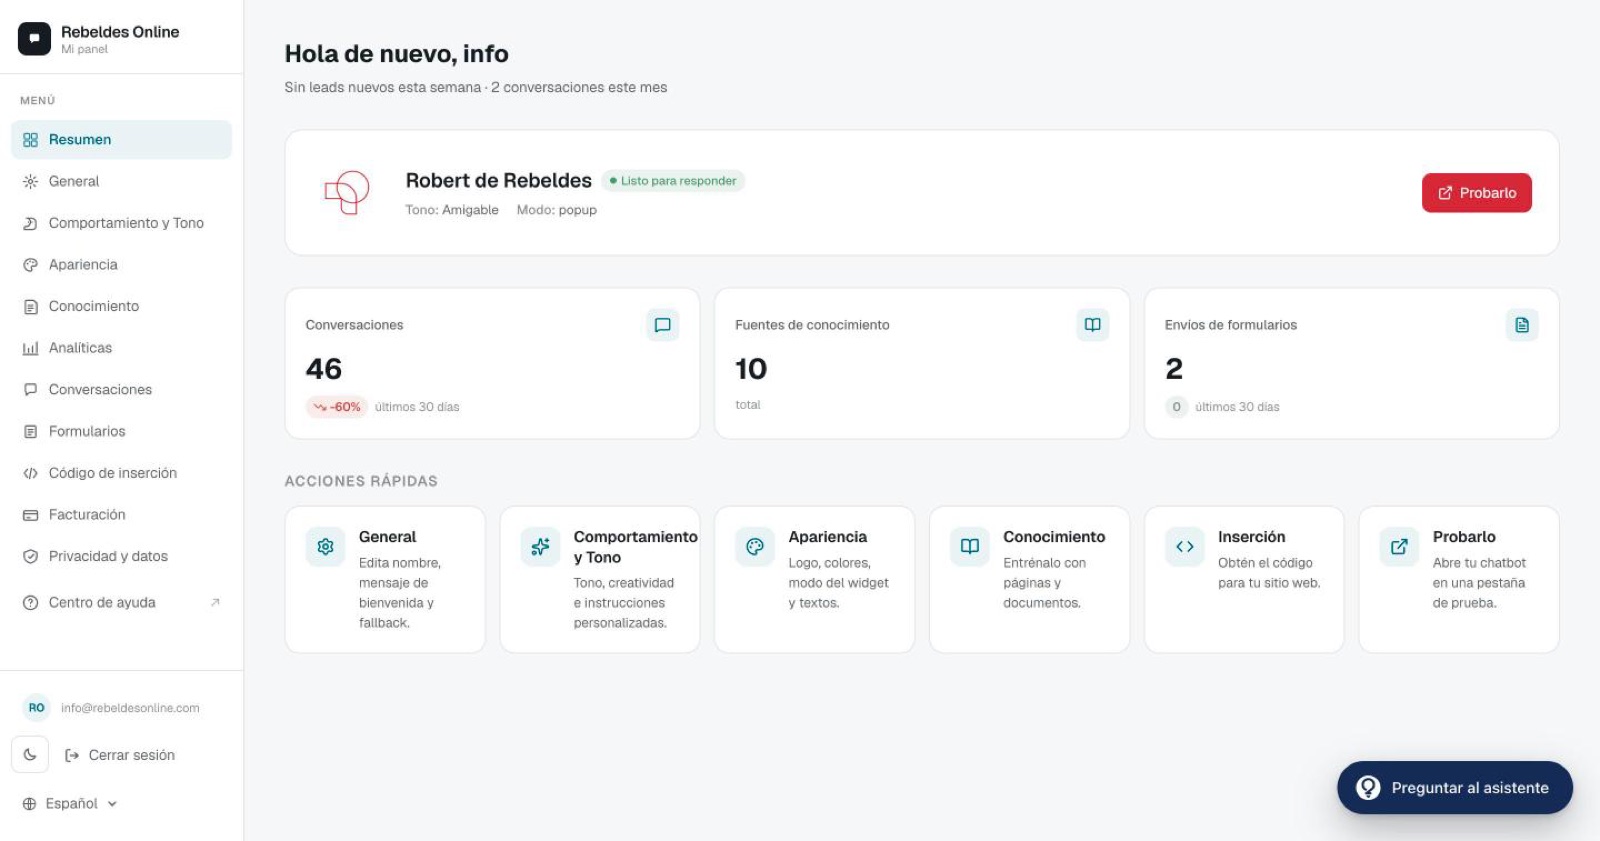
Before you start, here's what you have from day one:
- A custom chatbot for your business.
- An unlimited knowledge base (web pages + documents).
- Unlimited conversations, with no per-message cost.
- A multilingual agent: replies in 260 languages with automatic detection.
- Lead-capture forms inside the chat.
- Analytics with the key metrics.
The Pro plan adds: an AI analytics assistant, CSV conversation export, a webhook to your CRM, Instagram DM automation, and removal of the "Powered by ChatME" badge.
Step 1: Personalize the basics
In the General tab, give your chatbot a name and a welcome message. The name shows in the chat header; the welcome message is the first thing a visitor sees when they open it. Keep it short and warm, for example: "Hi! How can I help you today?".
Step 2: Add knowledge
This is where the magic happens. In Knowledge, paste your website URL and let ChatME read it: it extracts the content from your pages and builds the base it answers from. You can add several pages and upload documents (PDF, text) with anything not on your site — prices, policies, FAQs.
The better your knowledge base, the better the answers. Start with your home page, your pricing page and your FAQs.
You don't write answers by hand — the chatbot reasons from your content.
Step 3: Set the tone and appearance
In Behaviour & tone you choose how your assistant speaks: friendly, formal or technical. In Appearance you set how the widget looks: color (it matches your brand), icon, button text and position. The chat will feel like a natural extension of your site.
Step 4: Install it on your website
In Embed code, copy the snippet and paste it into your site, just before the closing </body> tag. It's a single line and works on Webflow, WordPress, Shopify, Wix and plain HTML. We cover it in detail in how to install the chatbot on your website.
Step 5: Test it
Open the page where you installed it, wait a couple of seconds for it to load, and you'll see the floating bubble. Click it, type a real customer question and check the answer. If something's off, it's almost always fixed by adding more content in Knowledge.
Frequently asked questions
How long does it take to go live? About 10 minutes — most of that is waiting for it to read your site and pasting the snippet.
Do I need to know how to code? No. Everything is configured from the dashboard, and installing is pasting a single line of code.
Which languages does it answer in? Whatever language the visitor writes in: the multilingual agent detects and replies in 260 languages, with no extra setup.
Stuck on a step?
Open the ChatME Assistant in your dashboard (the help bubble) and ask it anything — it knows every step in this guide. Or book a demo and we'll set it up with you on your own website.
Ask the ChatME Assistant
It's in your dashboard and knows every step. Or book a demo and we'll set it up with you.
Start free